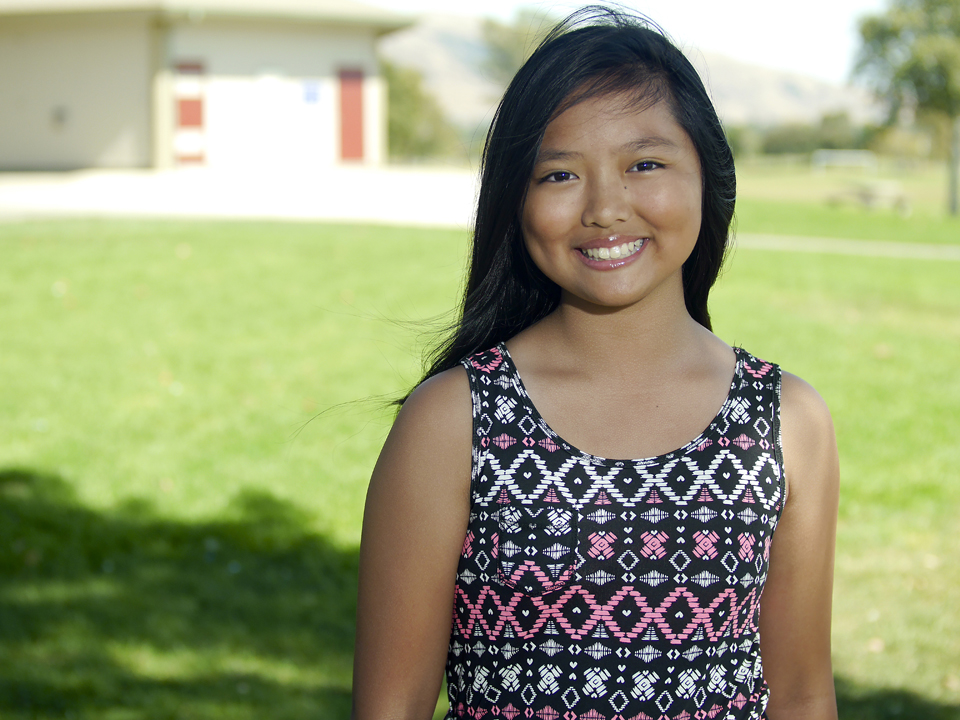
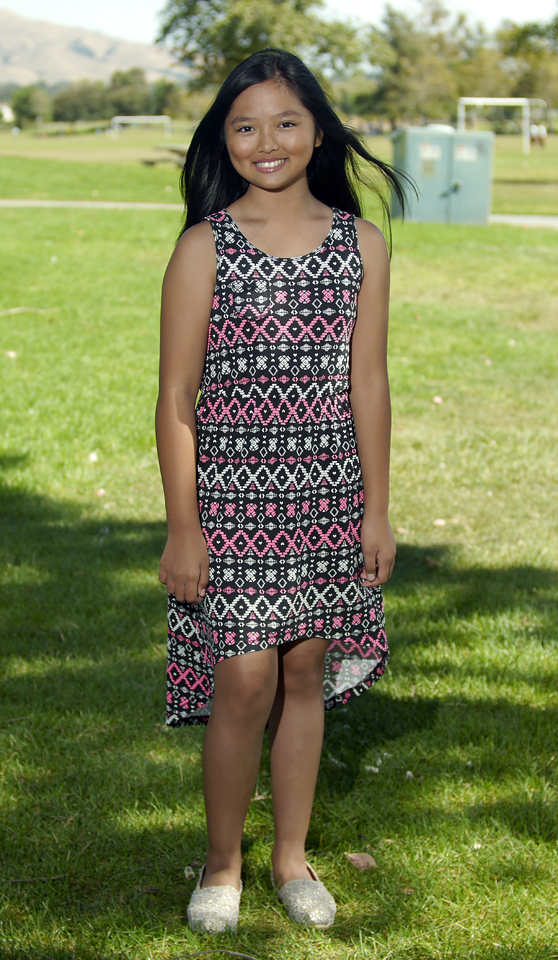
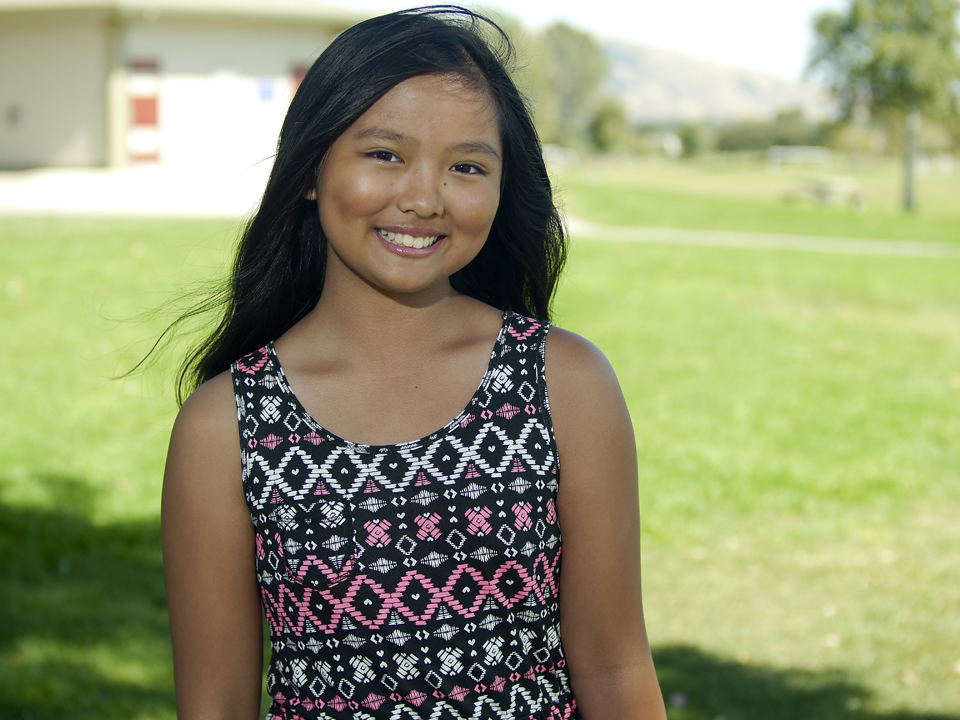
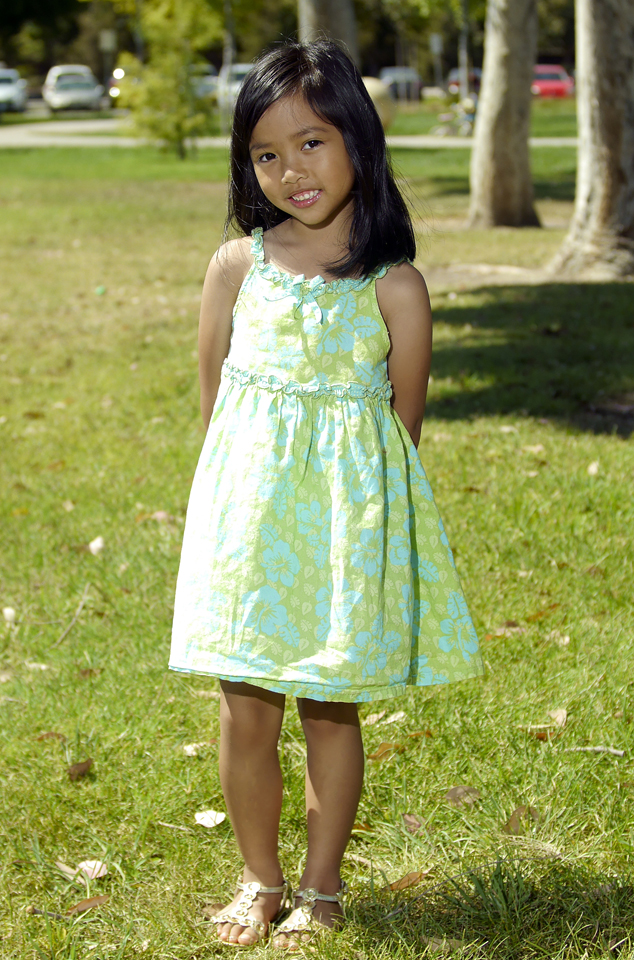
This past weekend nieces needed a few new headshots and bodyshots. Seems like they need them more often since the grow so fast! Here's an old post at the same park about 4 years ago using my old school Canon point and shoot where I learned how to shoot manual.
http://apgfoo.blogspot.com/2011/03/photoshoot-with-cheska.html

Here's a lengthy comment I gave someone asking about what lens I used but it turned into my whole setup!
"Thanks. I used the SLR Magic 35mm T1.4. It's used more for video but works well as a still portrait lens. I used a Tiffen .9 ND filter on it but may need a variable ND filter since my aperture was around 2.8 - 4.0 in this shot. I wanted it 1.4 - 2.8 instead. Thinking of getting an auto focus prime like the Oly 45 or the Panasonic since I miss focus sometimes with the manual SLR lens.
I have the Nissin Di466 micro four thirds flash off camera using a cheap Neewer TTL cable. I had my camera on a tripod and just hand held the flash above my head, camera right. For the future, I'll use my light stand but I need to get a swivel/tilt flash bracket so I can angle the flash when its mounted on the light stand.
In camera, I used Standard Profile and shot JPG. I may shoot RAW once my color correcting/grading gets better but for now JPG is fine. Also, it saves time by not converting to DNG. I've editing RAW in the past but I didn't see much difference assuming exposure was already good.
I use Adobe Bridge and begin a few edits using Camera Raw which is built into Adobe Bridge. I haven't used Lightroom but it's similar. Since out of camera my images are a bit washed out (due to the cheap ND I assume) I adjust a few sliders. I adjusted the exposure a bit, then the Blacks and the contrast if needed. I also crop using Camera Raw and could have used the Adjustment Brush tool in this image to lower background exposure to better match the exposure of the subject but decided not to. I may in other images if the exposure difference is too distracting. Then Camera Raw opens up Adobe Photoshop where make just a few more edits.
I normally use Auto Levels to correct skin tones but if it seems off, I'll go back and adjust the RGB channels manually to my liking. Then I adjust sharpness using Unsharp Mask. I use this just enough to make it a bit sharper around the eyes. That's kinda my workflow in a nutshell. I could have just used Photoshop by itself but it seems quicker to do a few minor things in Camera Raw and finish up in Photoshop. I hope this is helpful!"
I hope to post more blogs often even if it's just for reference.